Skip to content

Help / getting started

List your club

Submit a new club listing from start through confirmation

This guide walks through listing a club on NZ Clubs — from the home page to Submit listing and the confirmation screen.

Before you start

No account needed. Meetings and photos are optional; you can skip them.

Parts

1. Open the listing wizard

2. Choose club type

3. Name and place

4. Public contact

5. Optional club details

6. Meetings and photos

7. Submit and confirmation

Part: Open the listing wizard

Open the listing wizard walkthrough

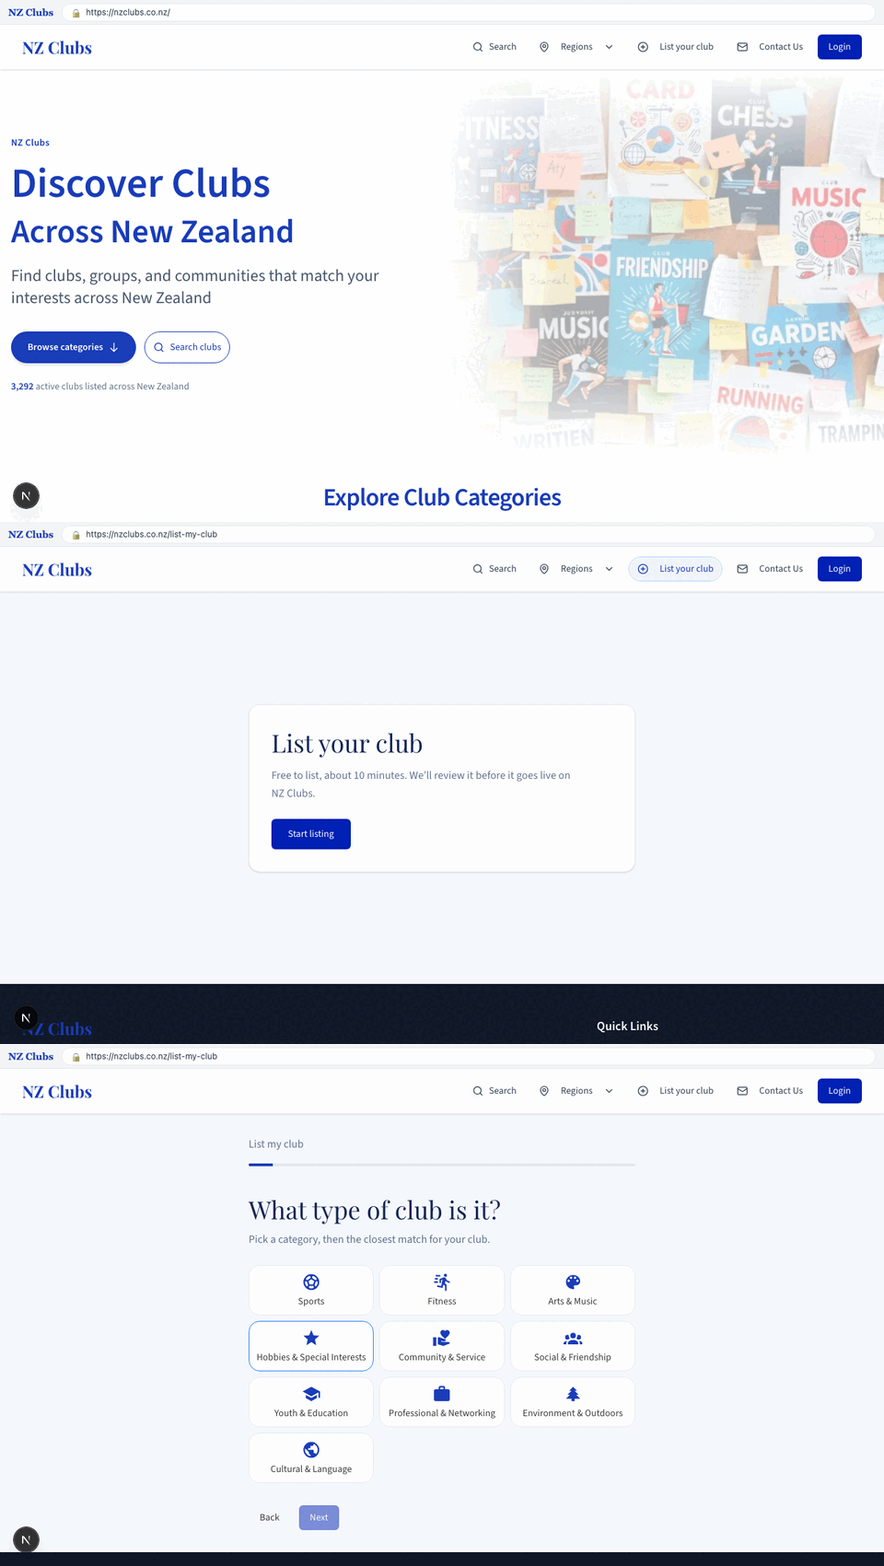
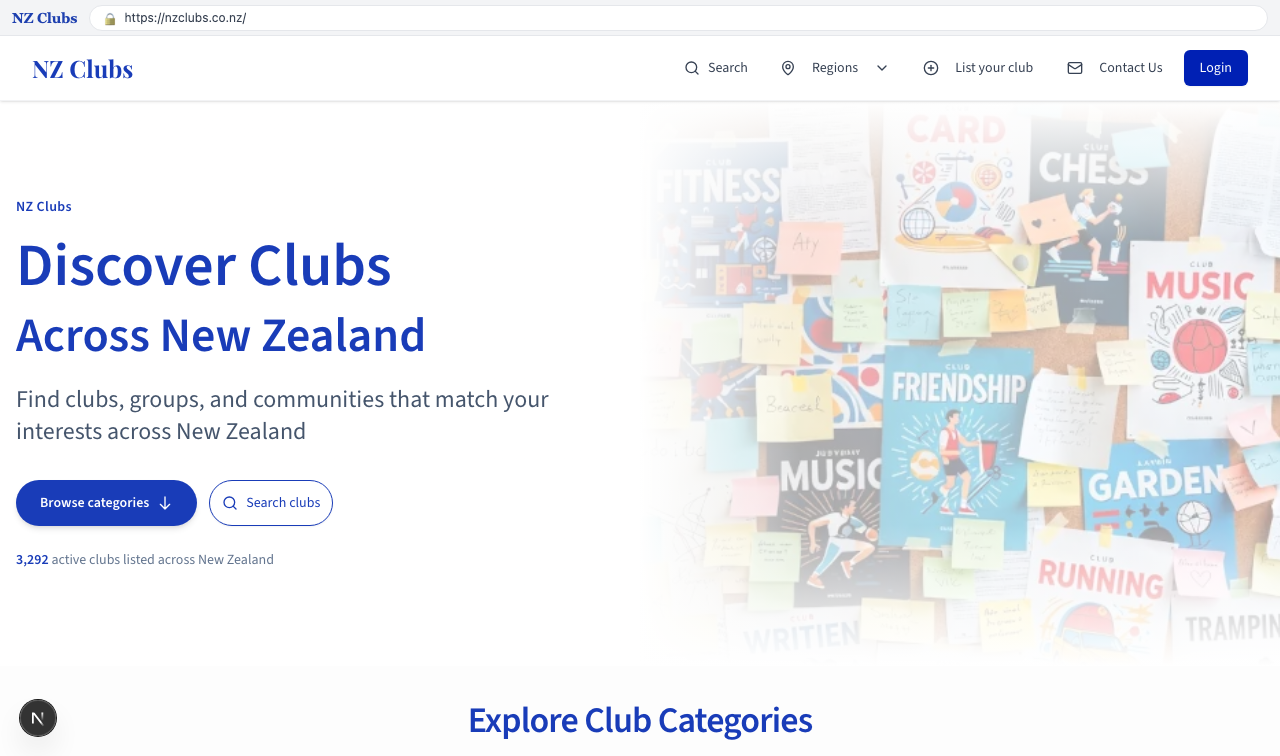
1. NZ Clubs home

NZ Clubs home
NZ Clubs home

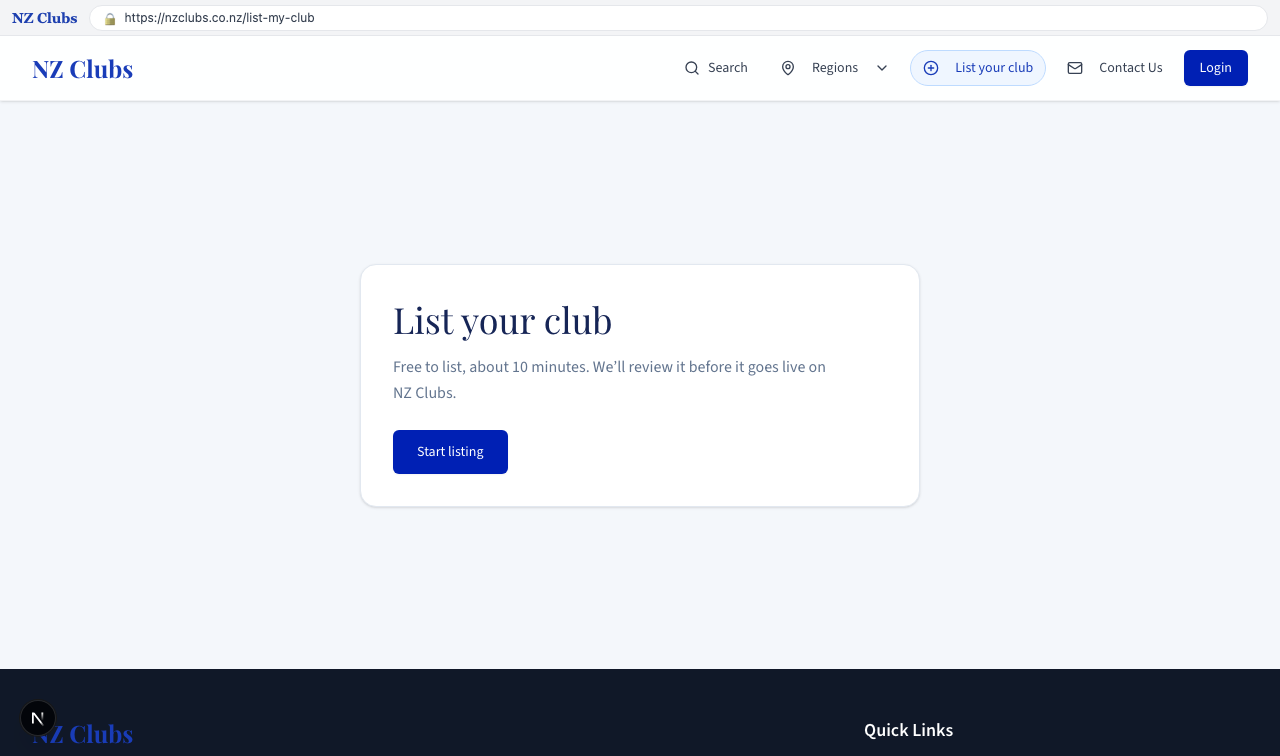
2. Open List your club

Open List your club
Open List your club

3. Welcome — Start listing
Welcome — Start listing

Part: Choose club type
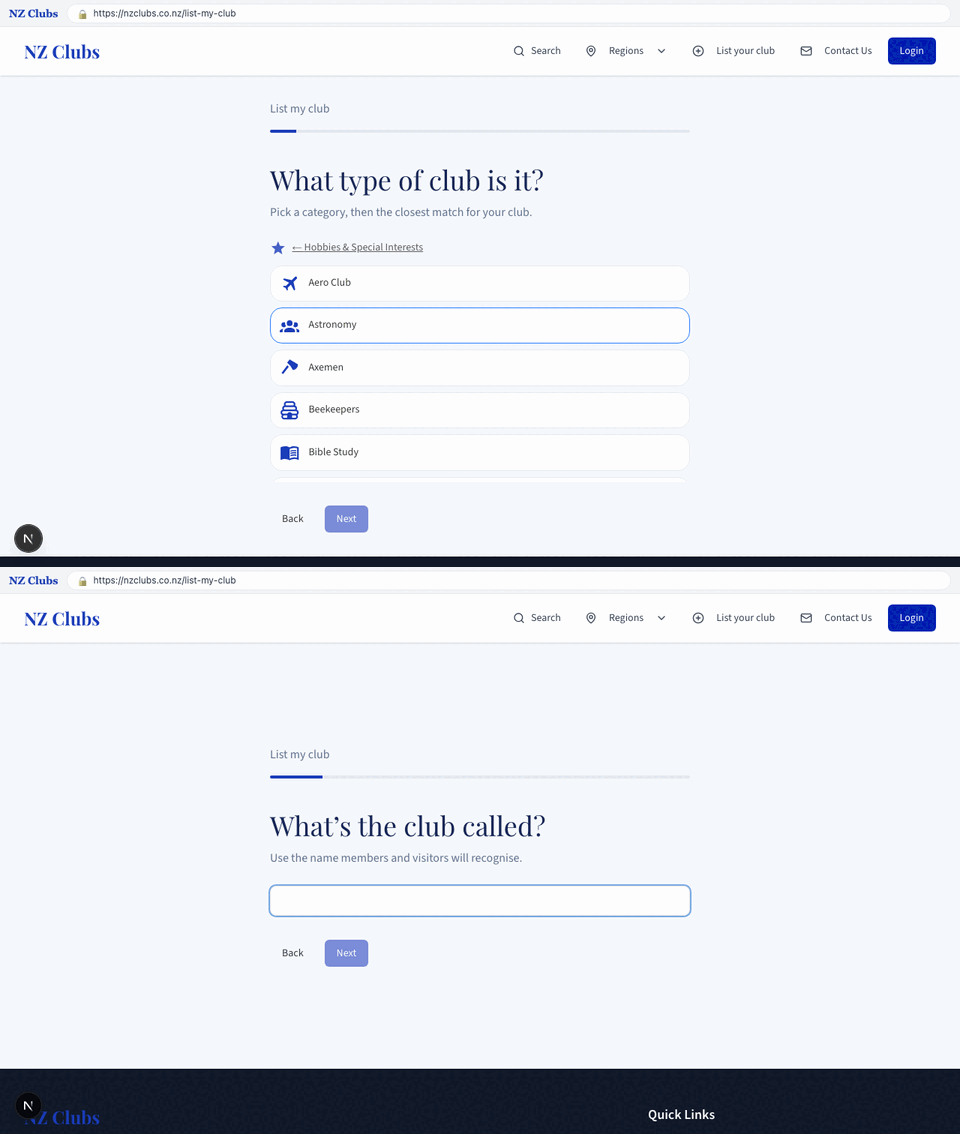
Choose club type walkthrough

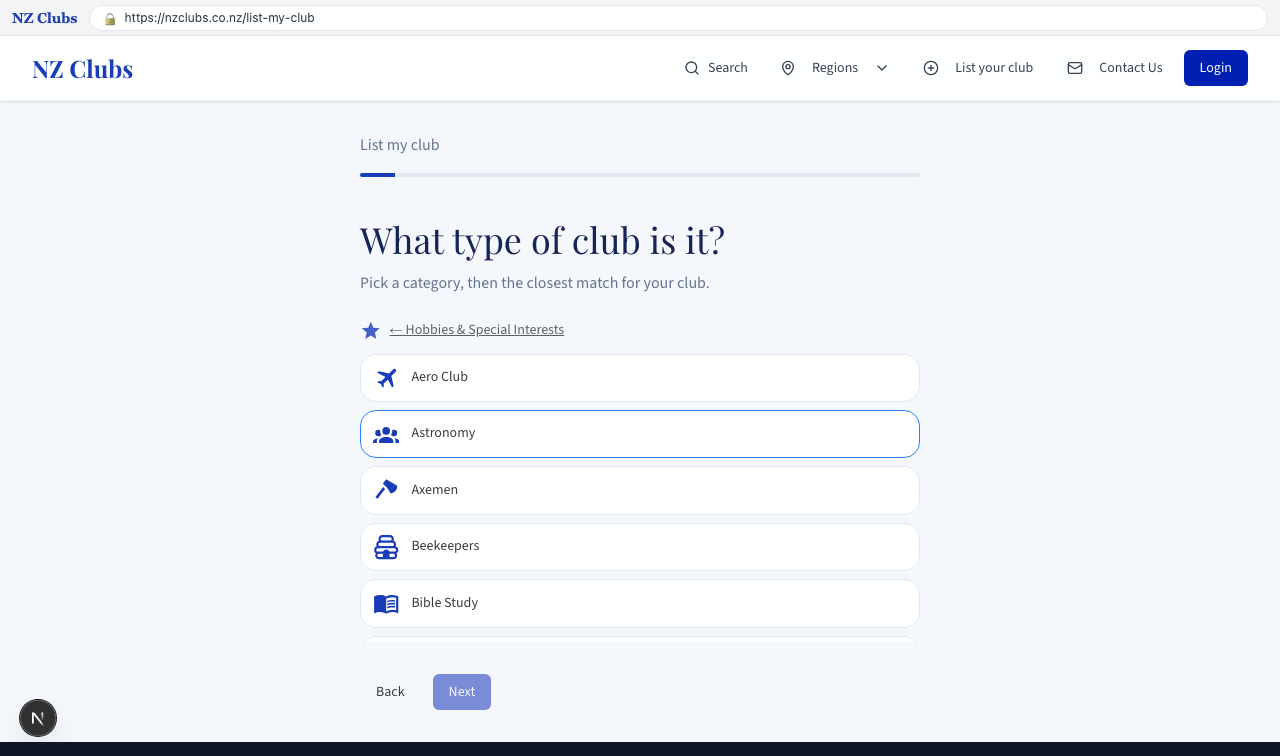
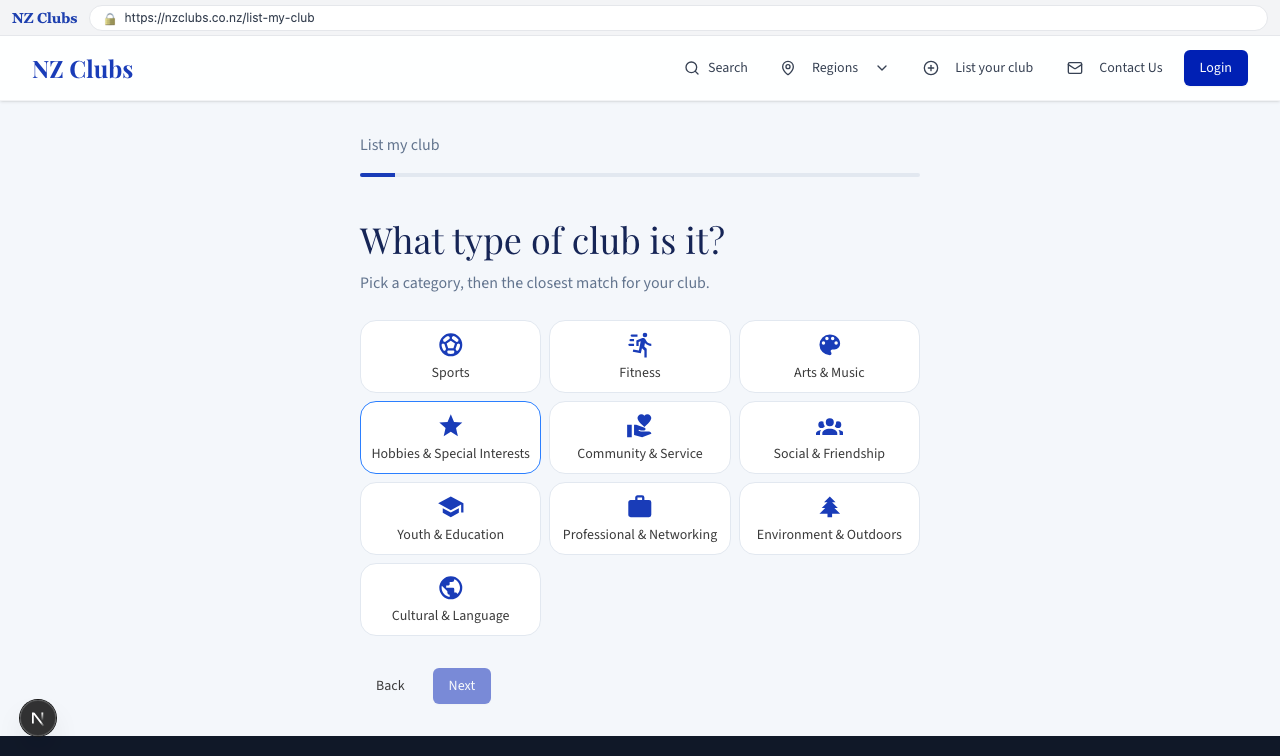
1. Pick a category

Pick a category
Pick a category

2. Pick Chess

Pick Chess
Pick Chess

Part: Name and place

Name and place walkthrough

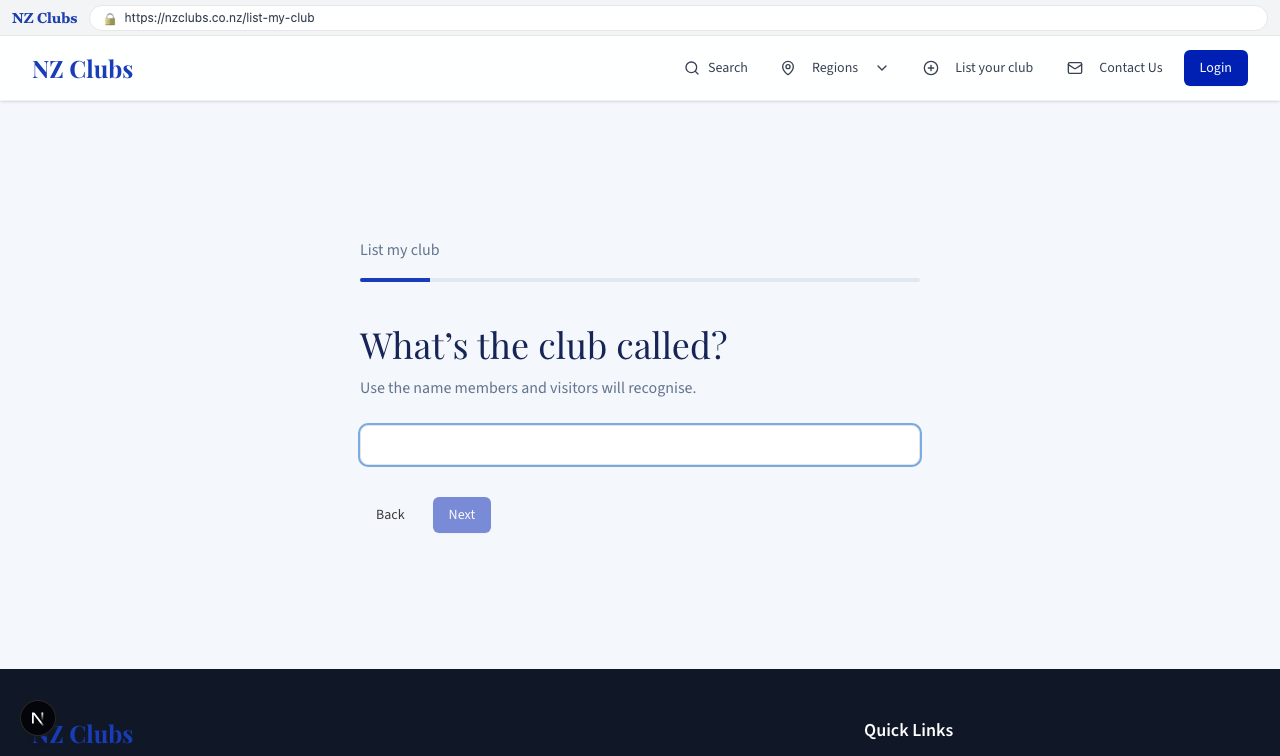
1. Enter the club name

Enter the club name
Enter the club name

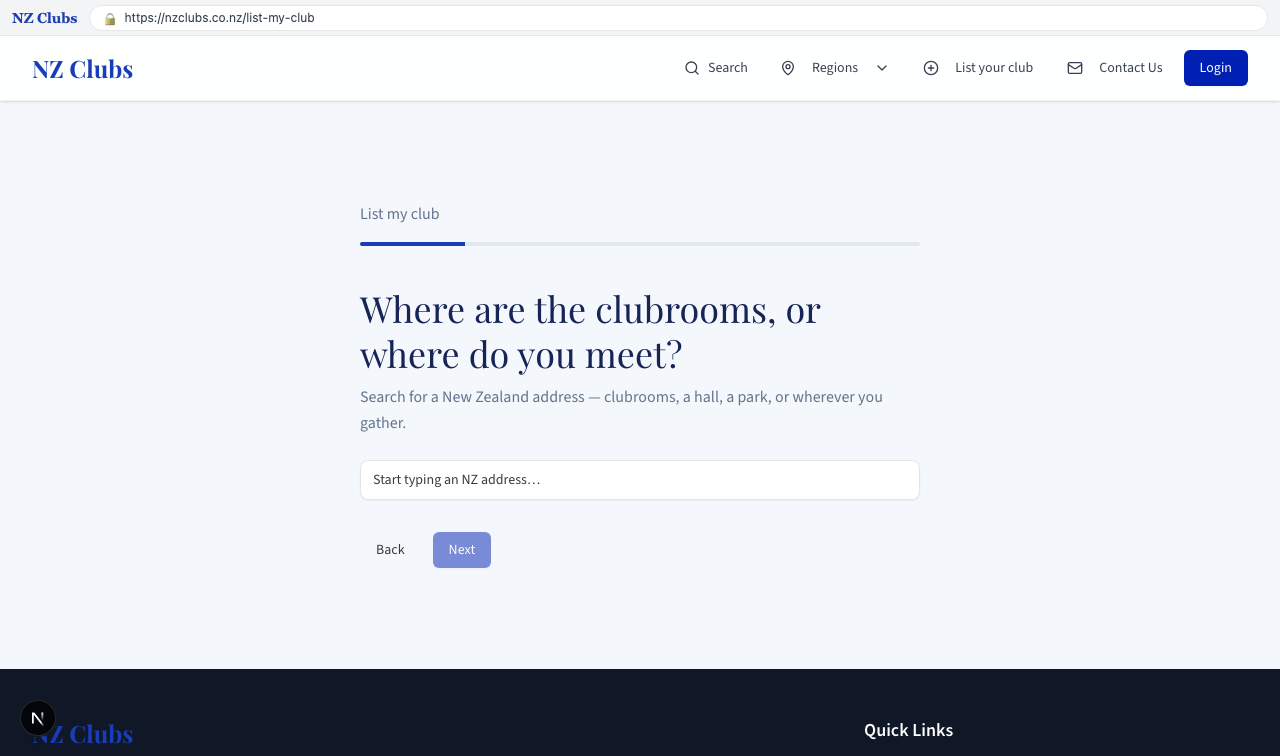
2. Enter where you meet
Enter where you meet

Part: Public contact
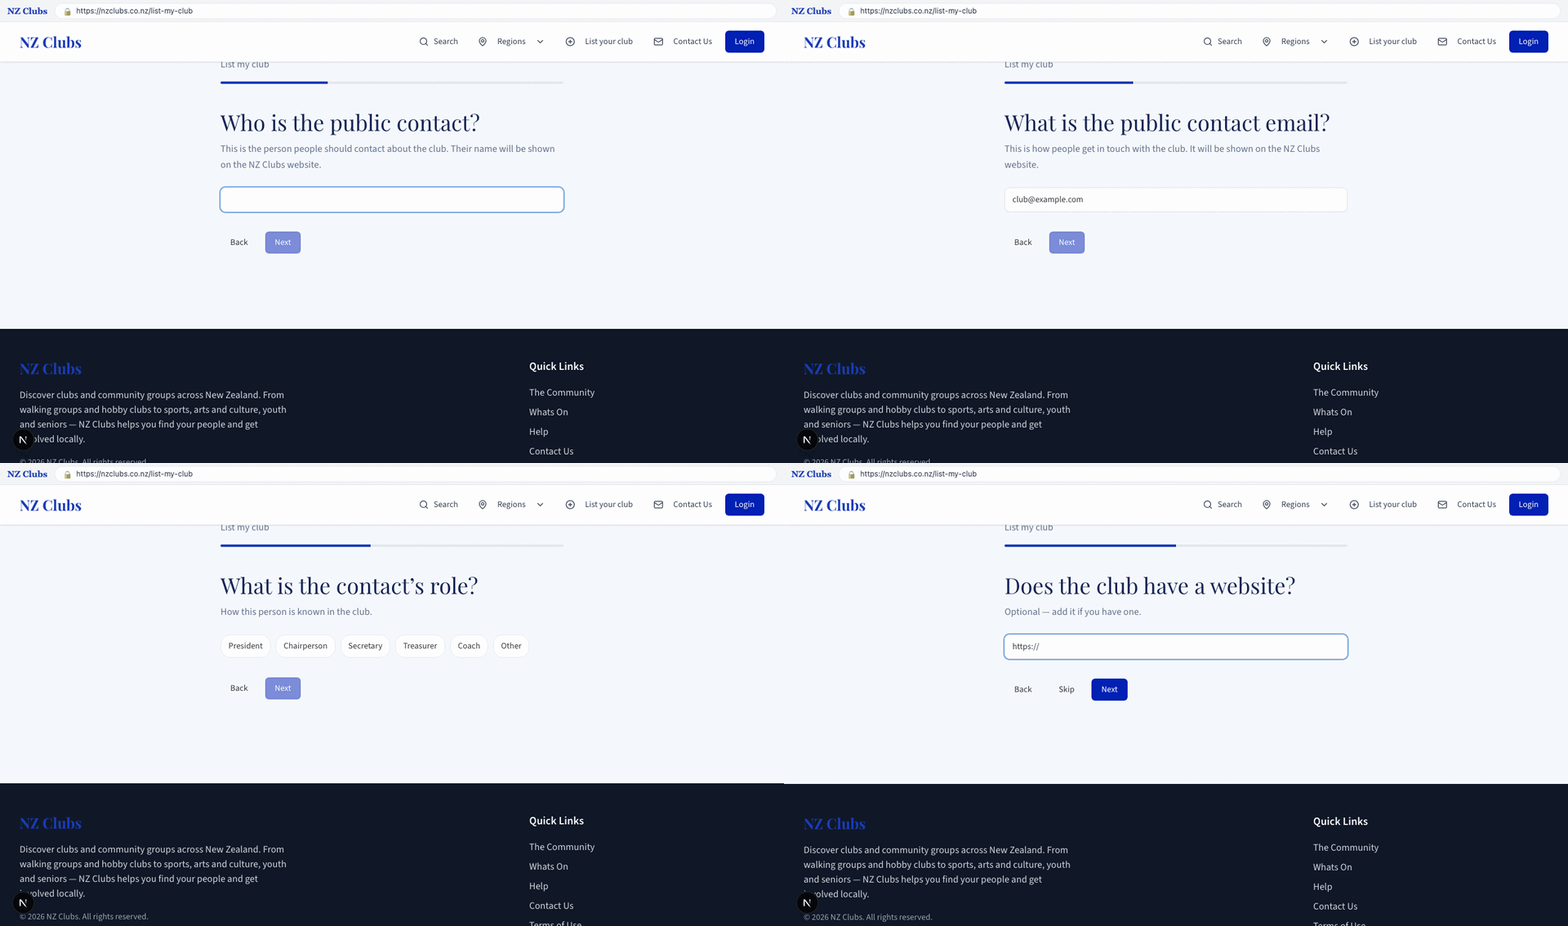
Public contact walkthrough

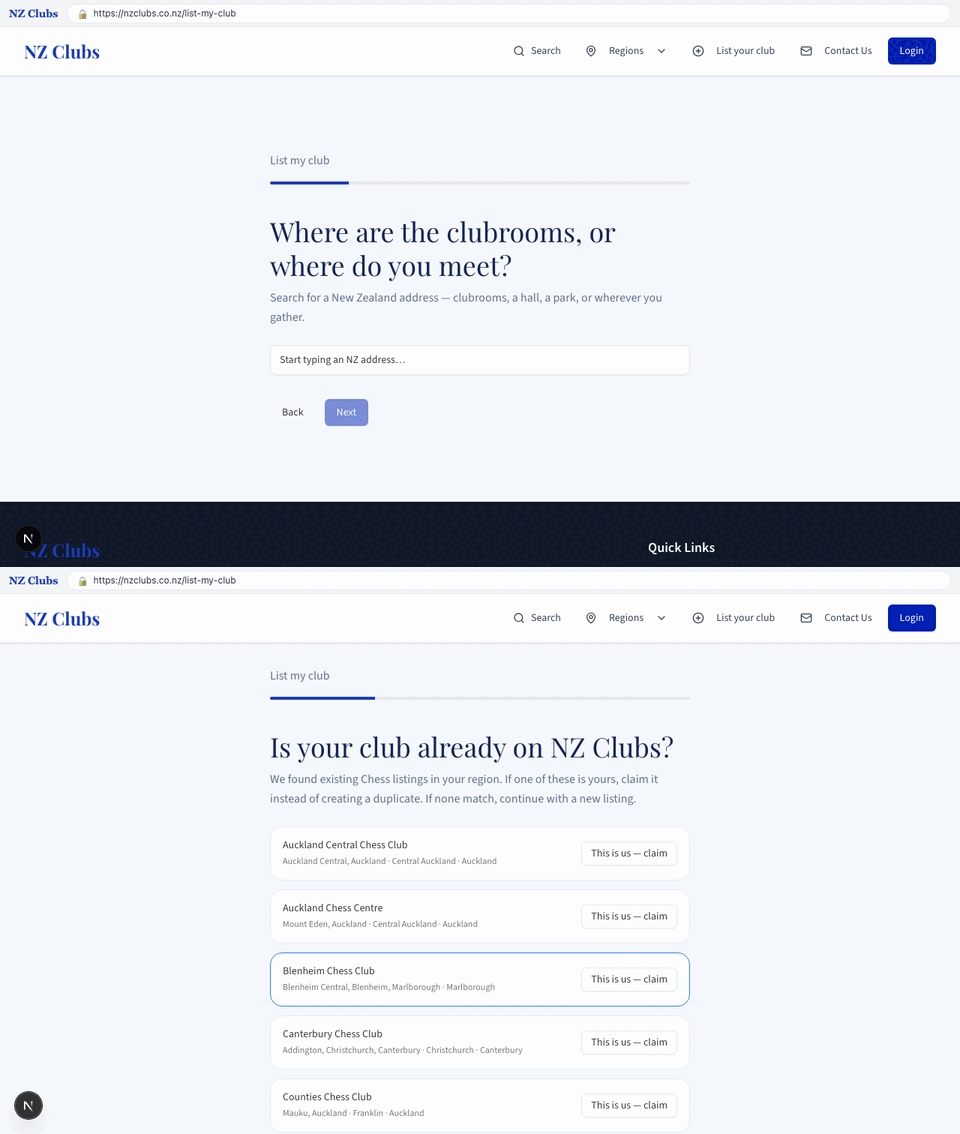
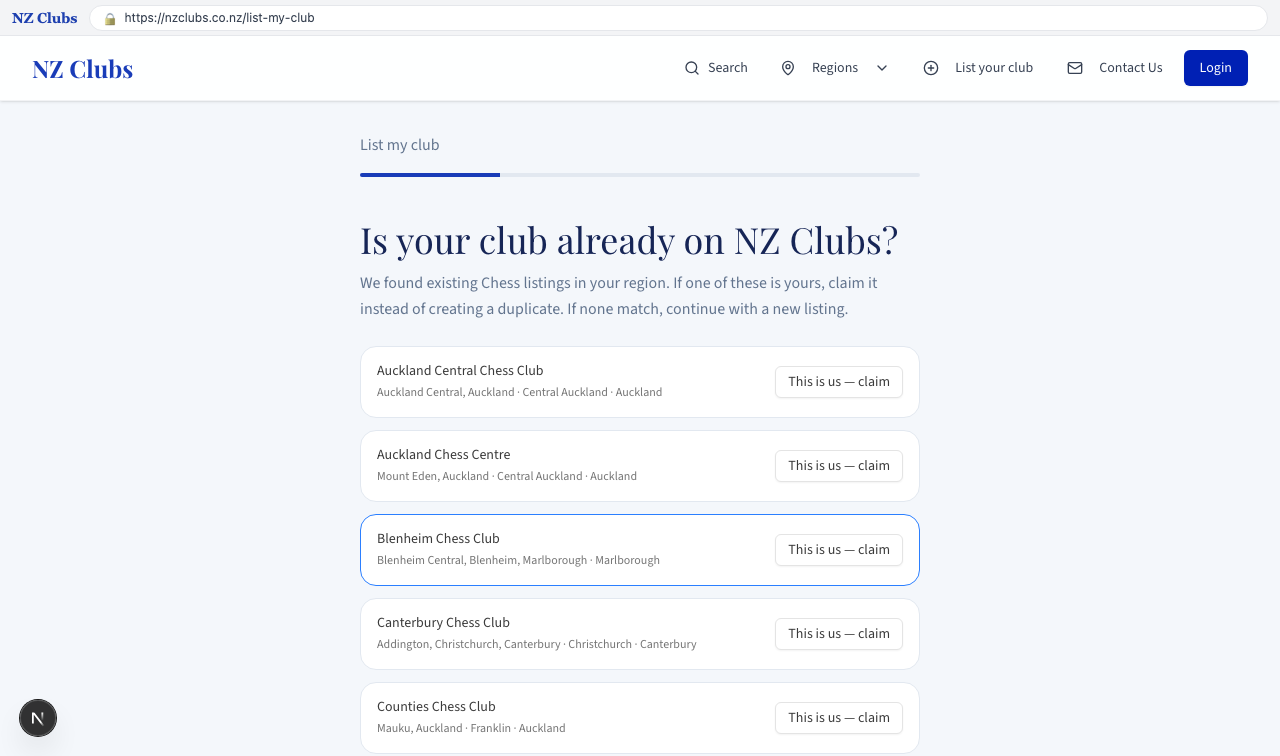
1. Continue if a similar club is already listed
Continue if a similar club is already listed

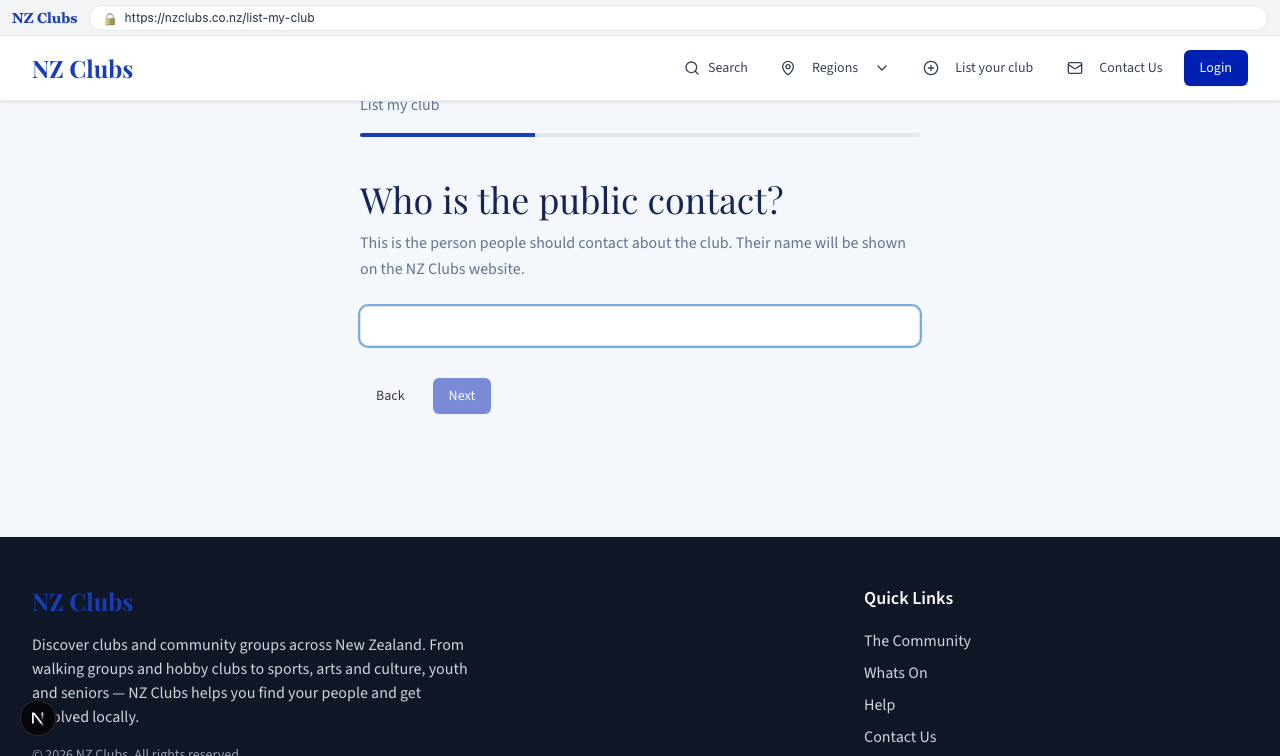
2. Public contact name
Public contact name
Public contact name

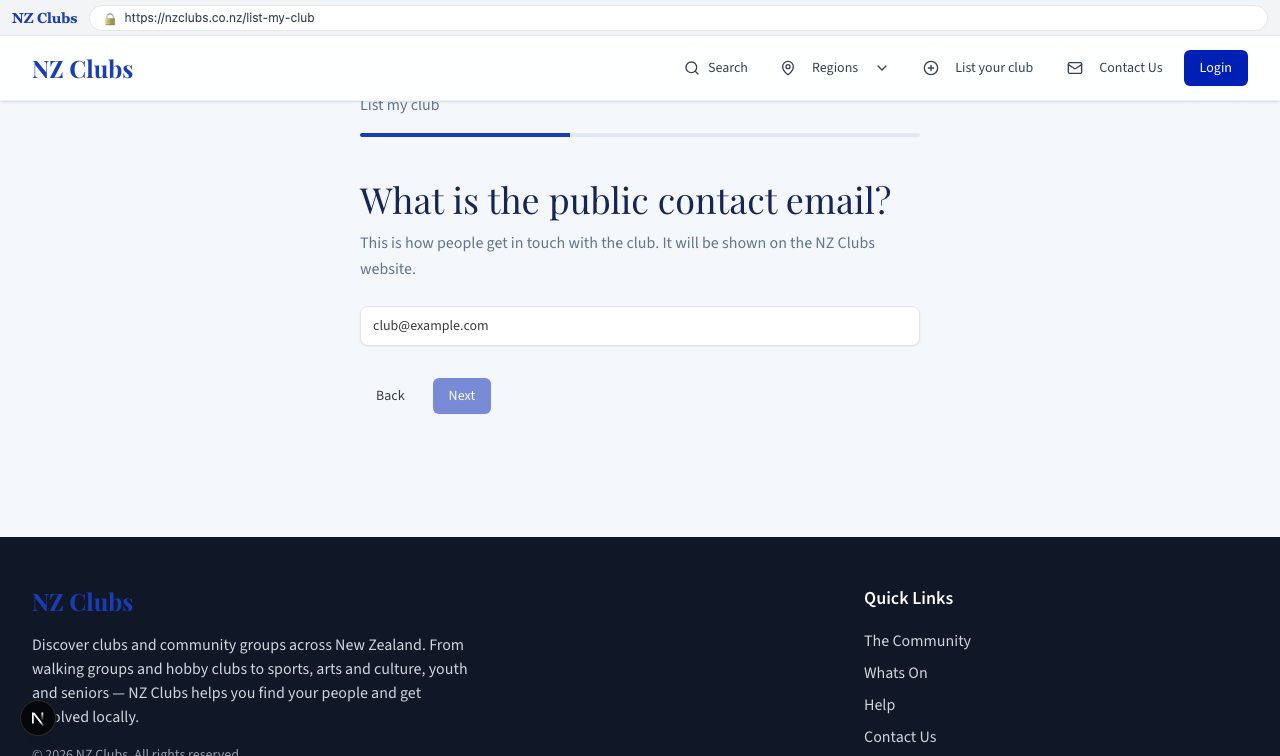
3. Public contact email
Public contact email

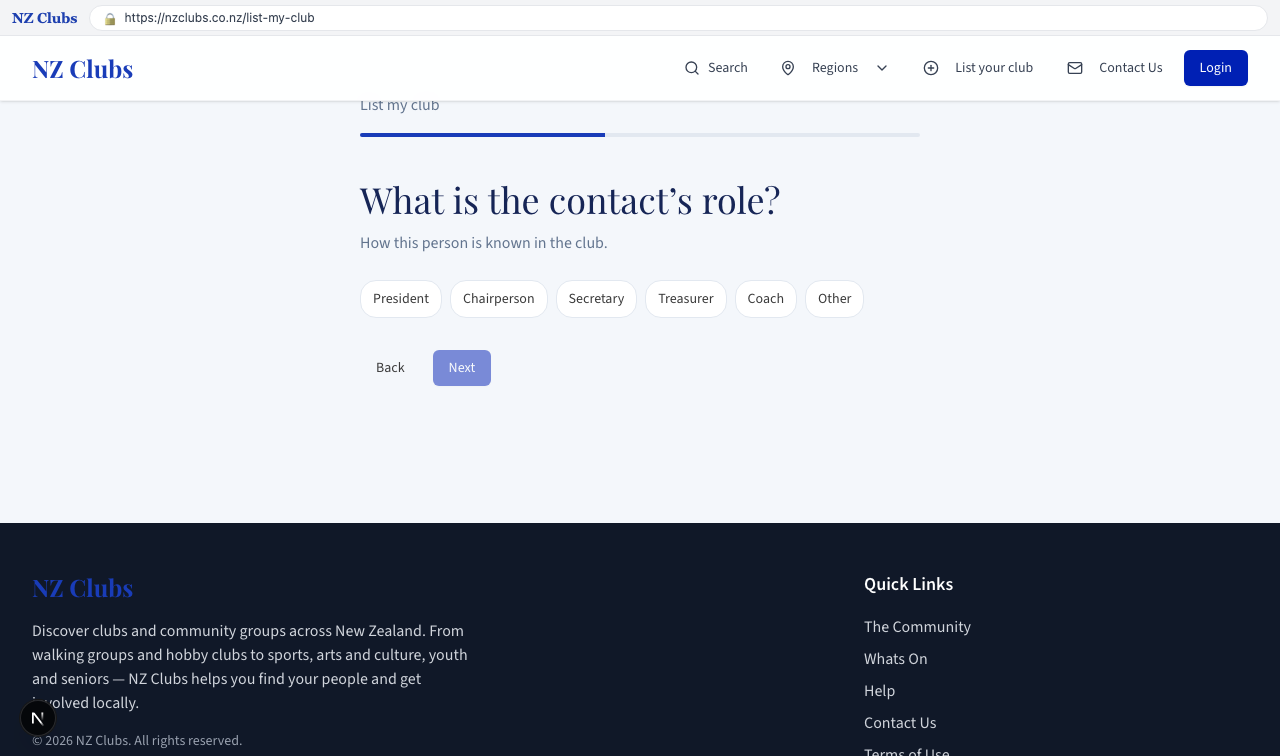
4. Contact role

Contact role
Contact role

Part: Optional club details
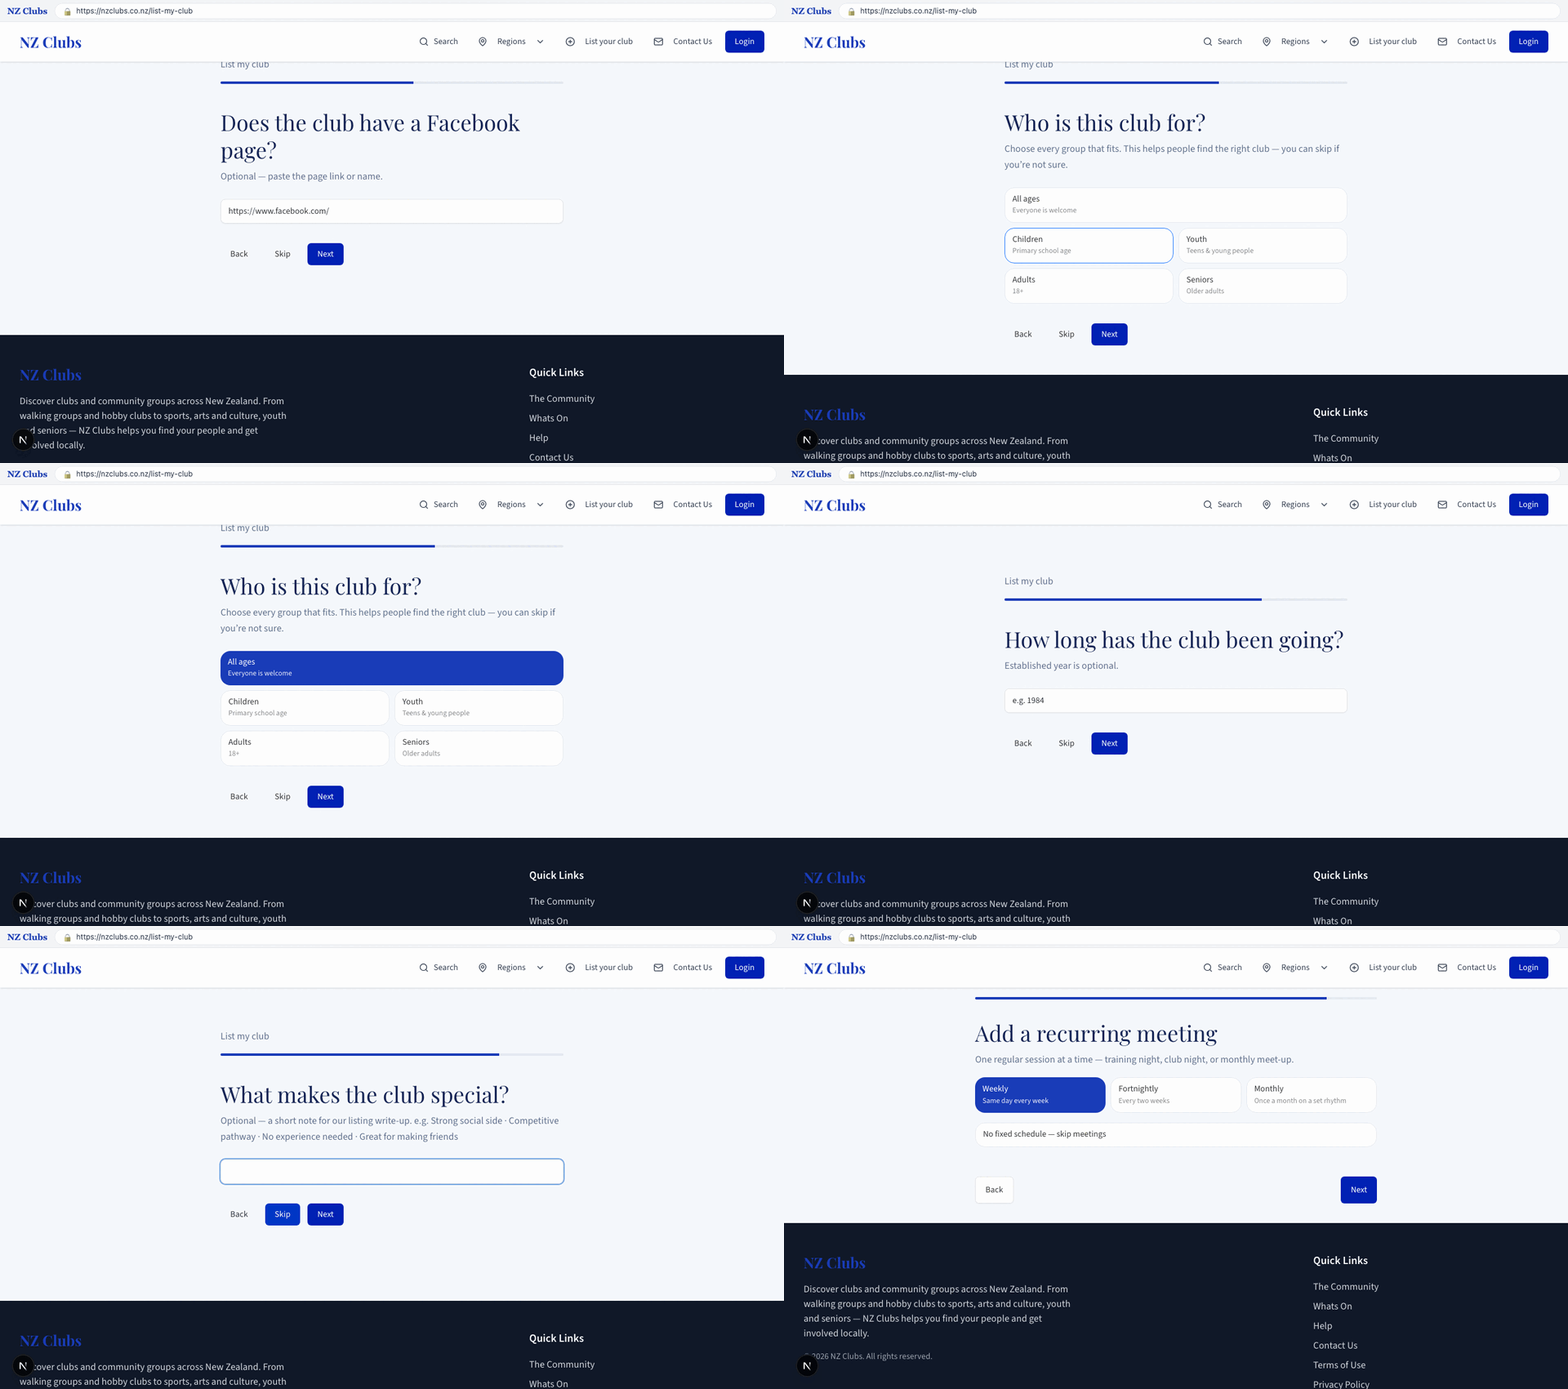
Optional club details walkthrough

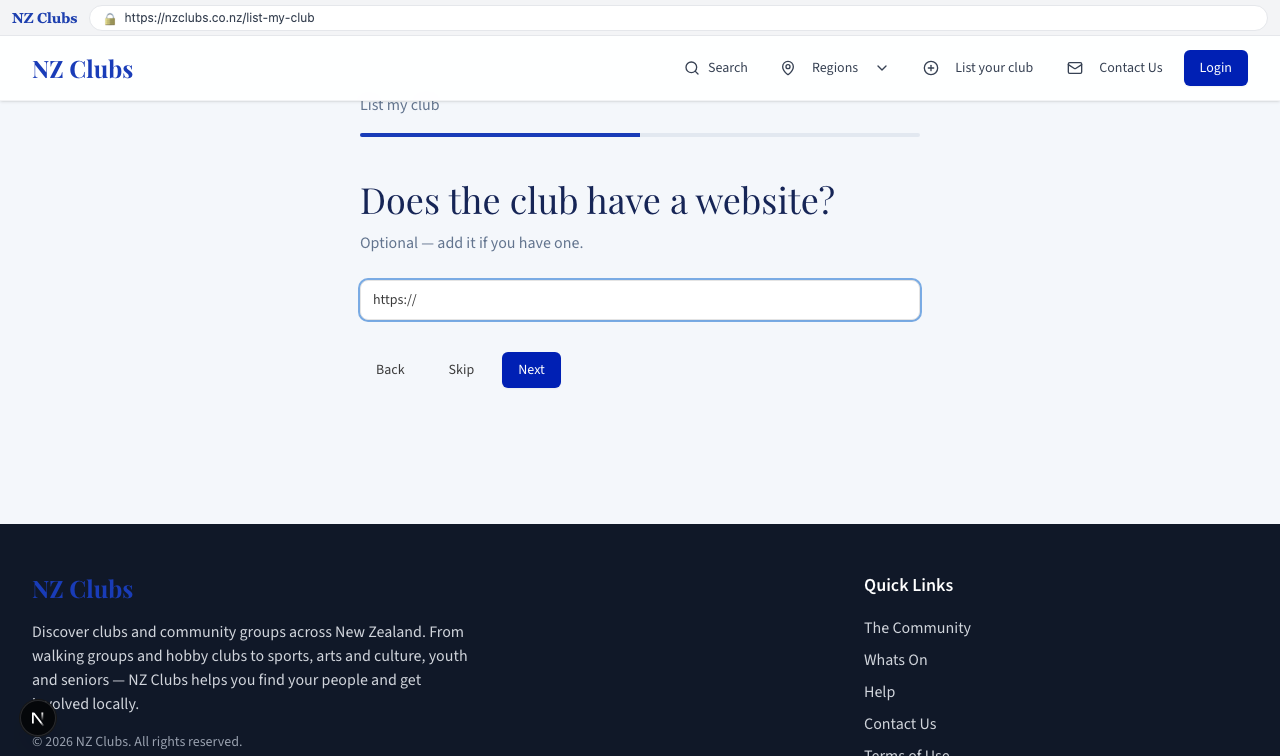
1. Skip website

Skip website
Skip website

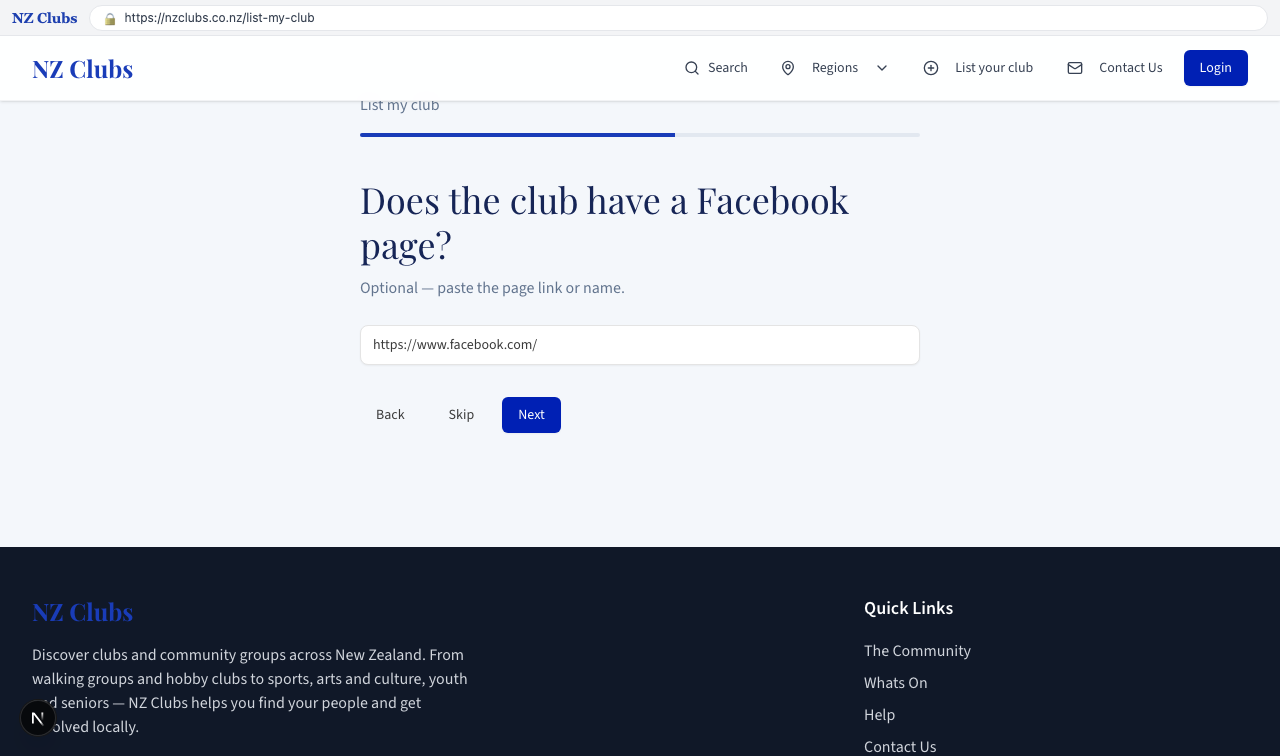
2. Skip Facebook

Skip Facebook
Skip Facebook

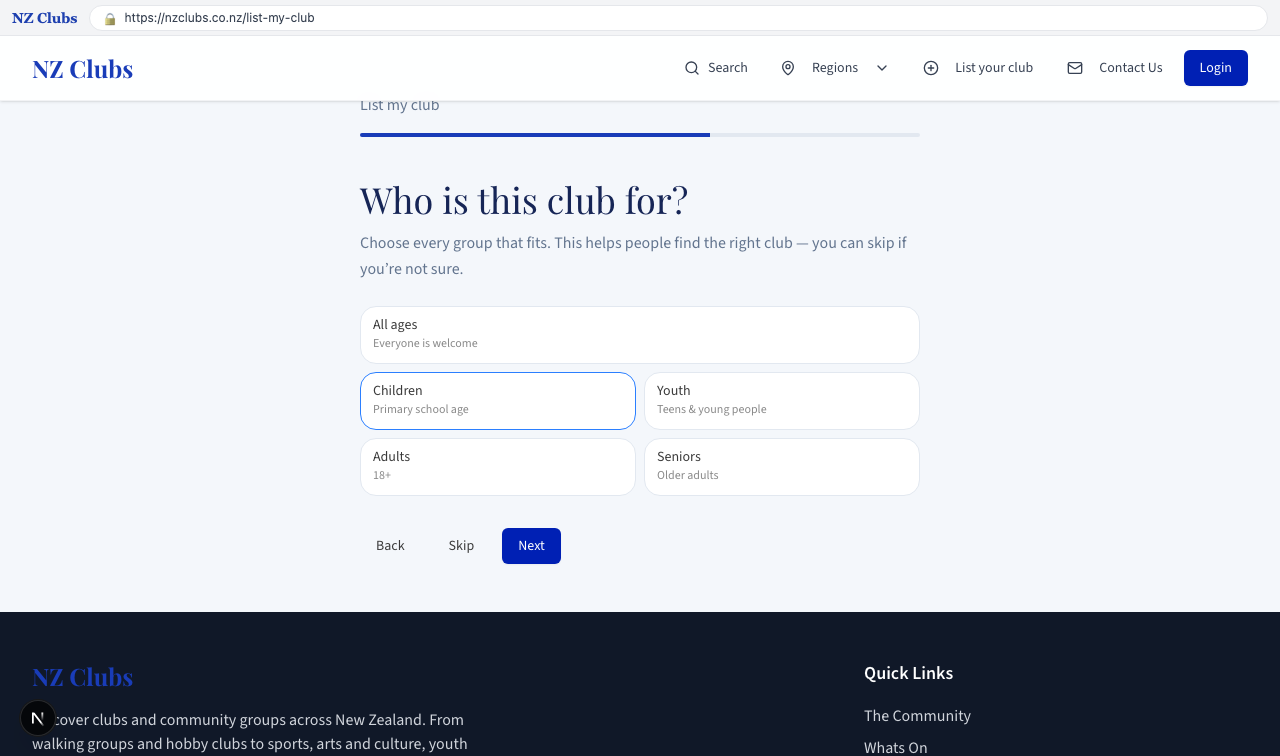
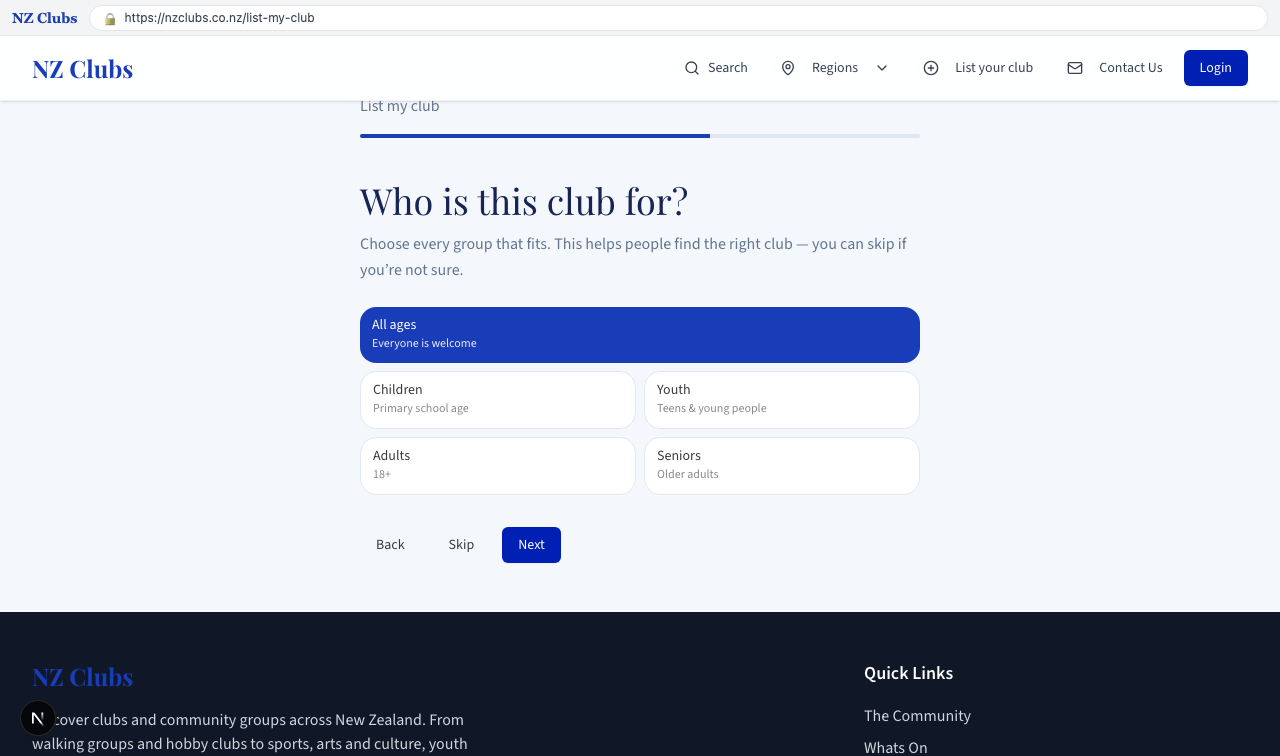
3. Choose All ages

Choose All ages
Choose All ages

4. Continue after ages
Continue after ages
Continue after ages

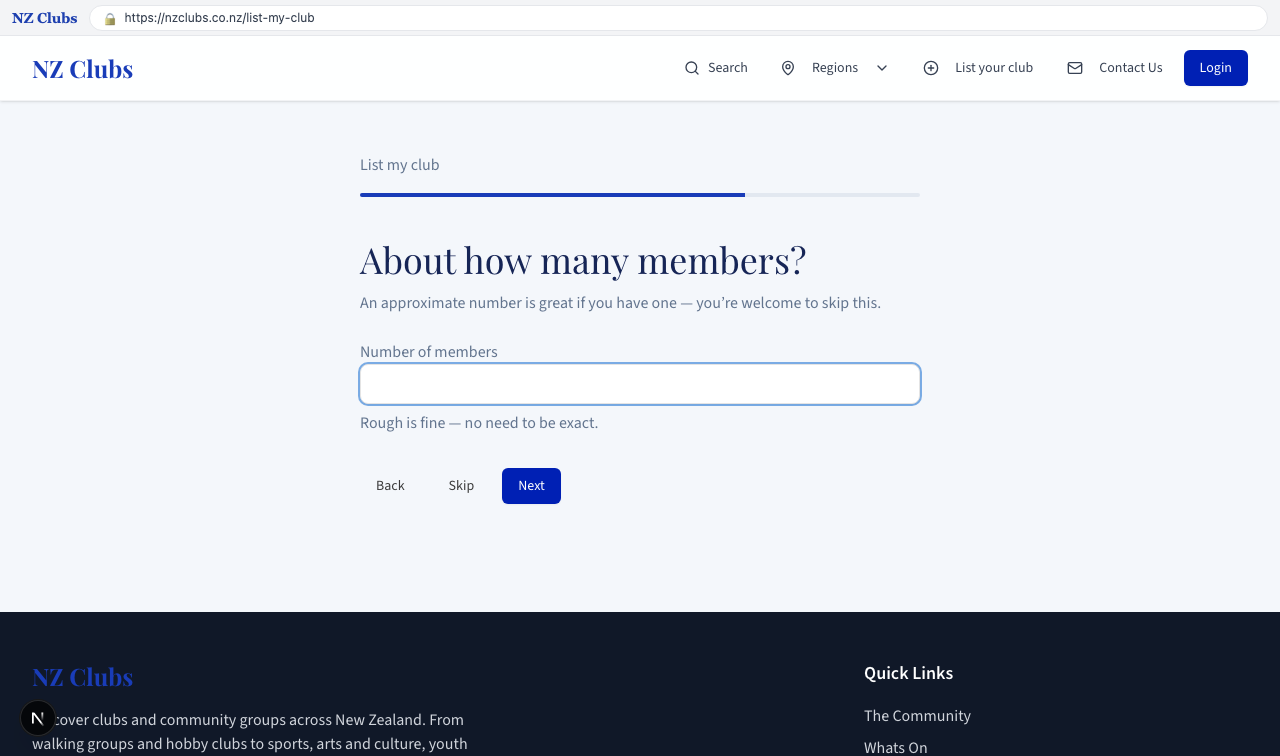
5. Skip member count
Skip member count
Skip member count

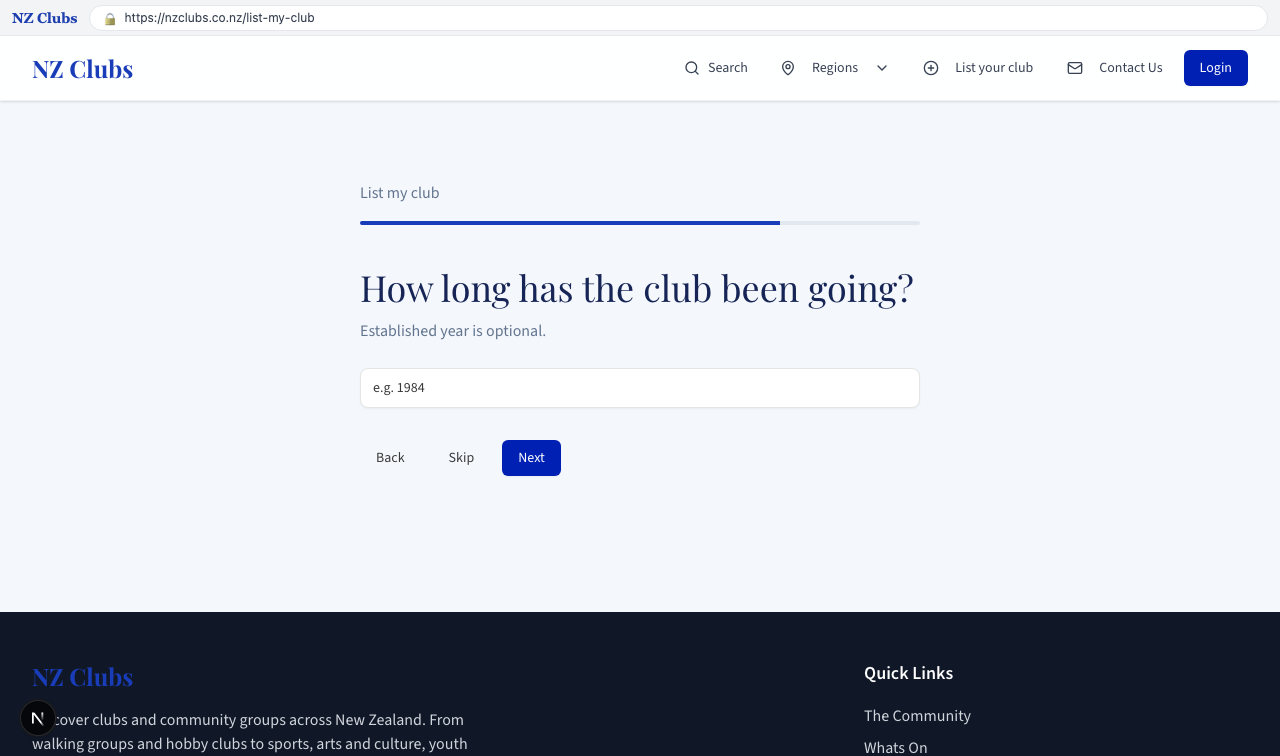
6. Skip established year
Skip established year

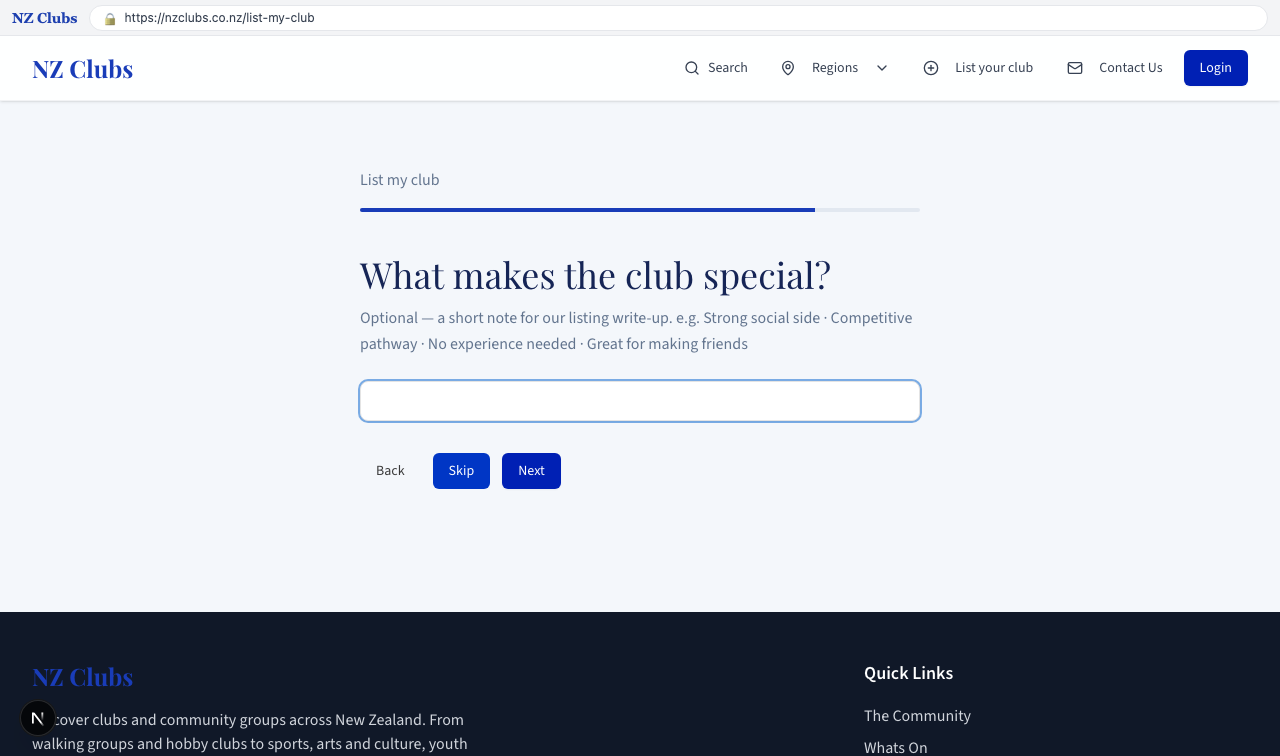
7. Skip one-liner
Skip one-liner
Skip one-liner

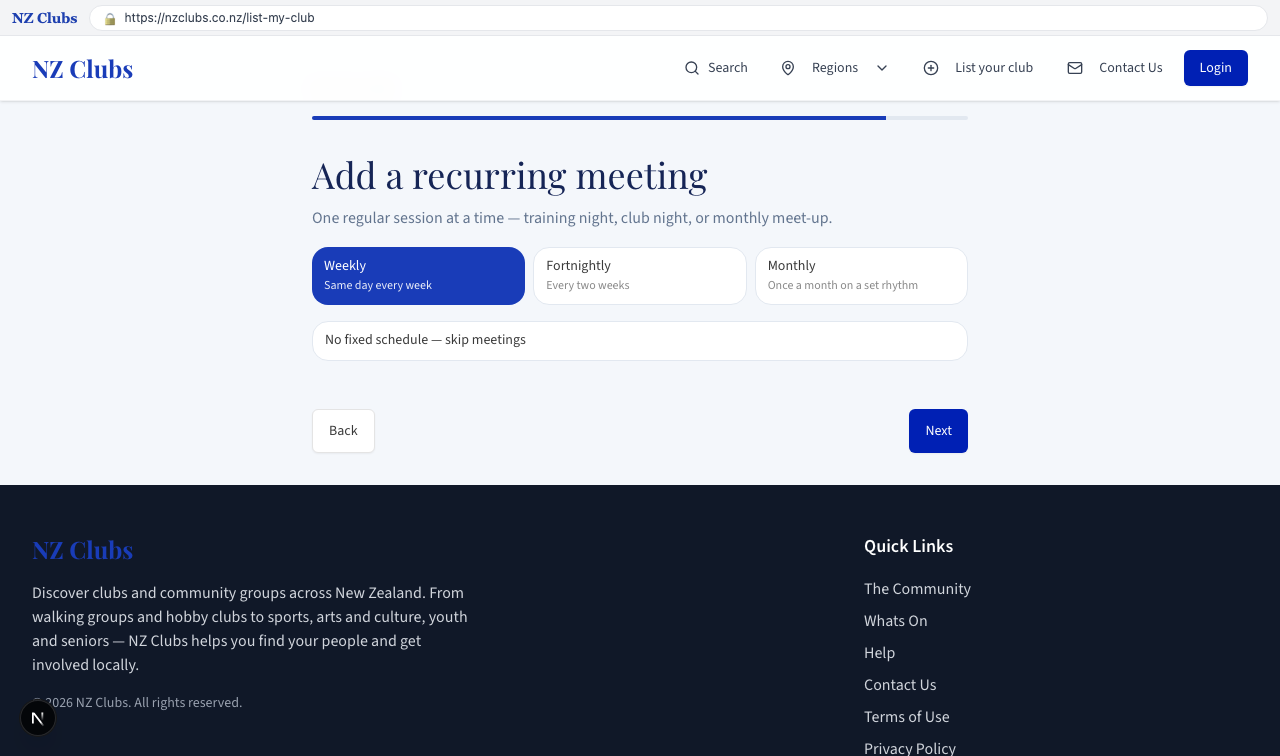
Part: Meetings and photos
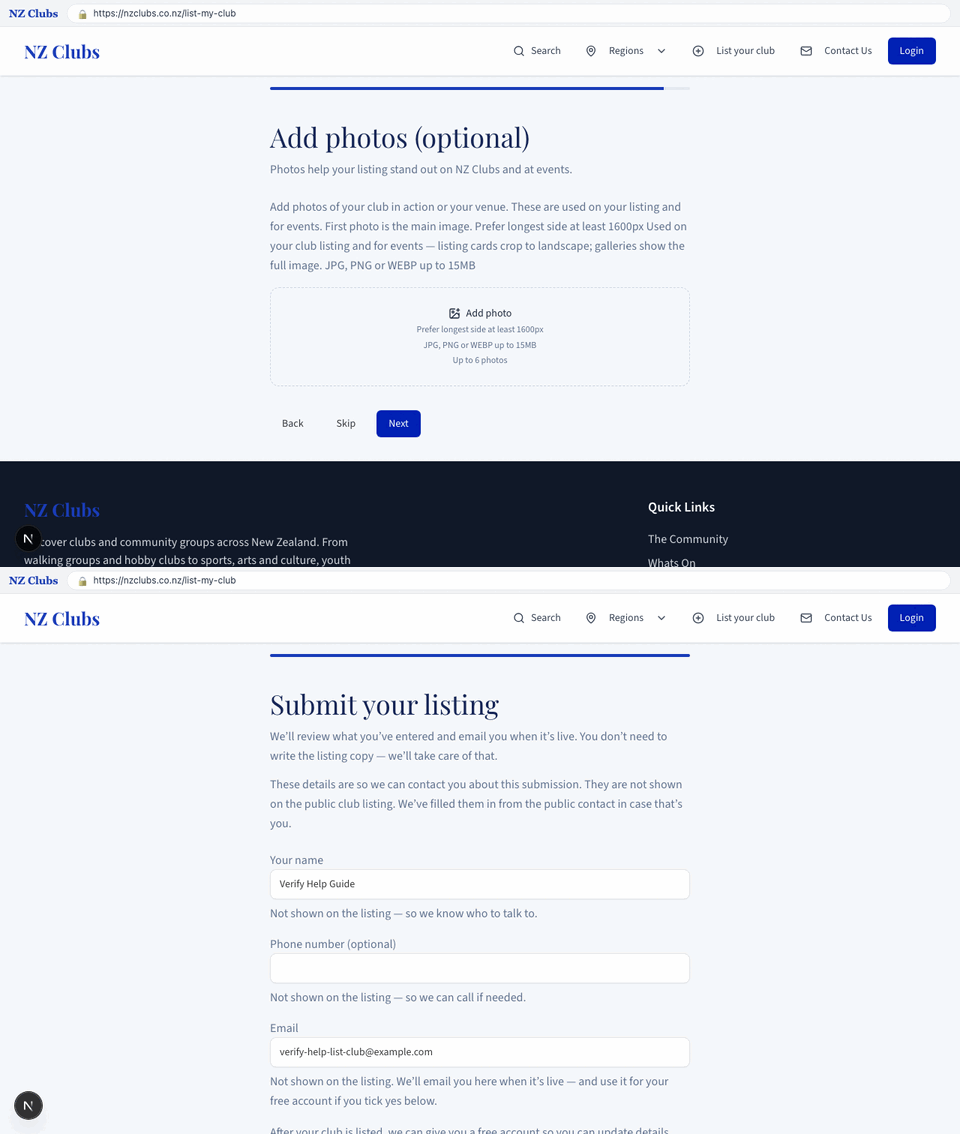
Meetings and photos walkthrough

1. Skip meetings

Skip meetings
Skip meetings

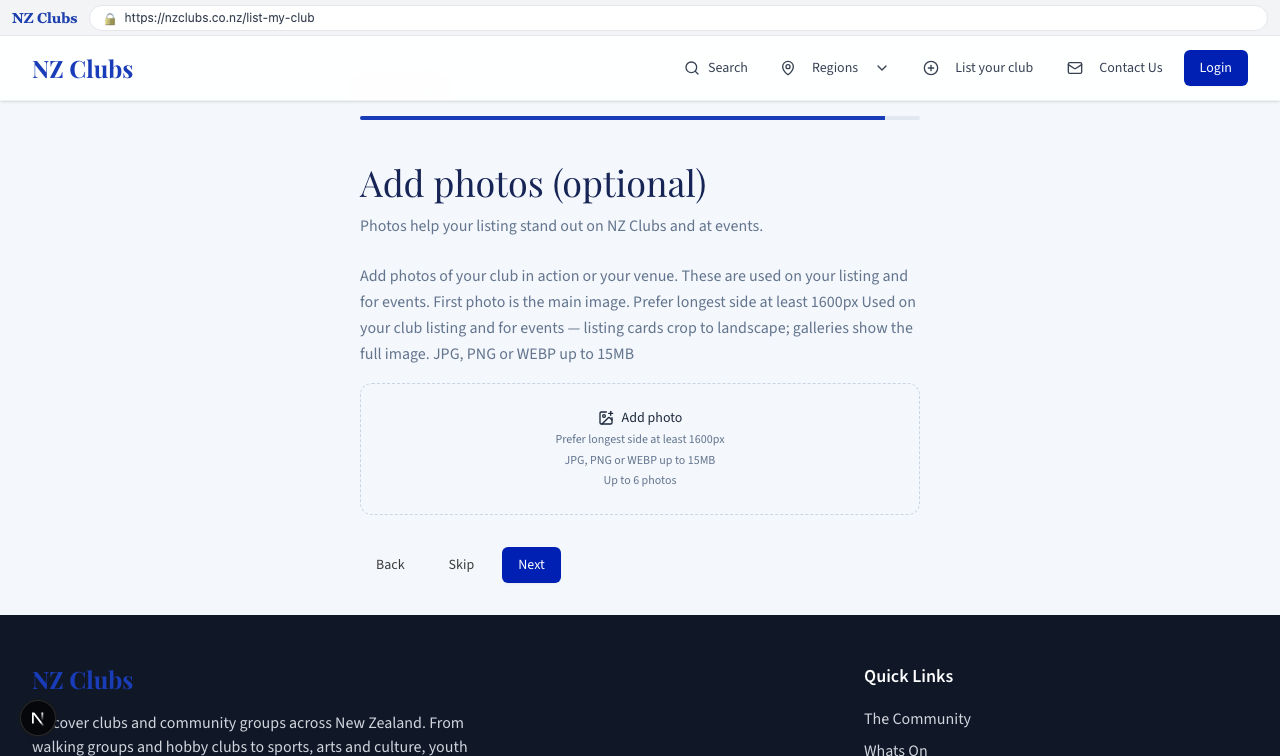
2. Skip photos

Skip photos
Skip photos

Part: Submit and confirmation
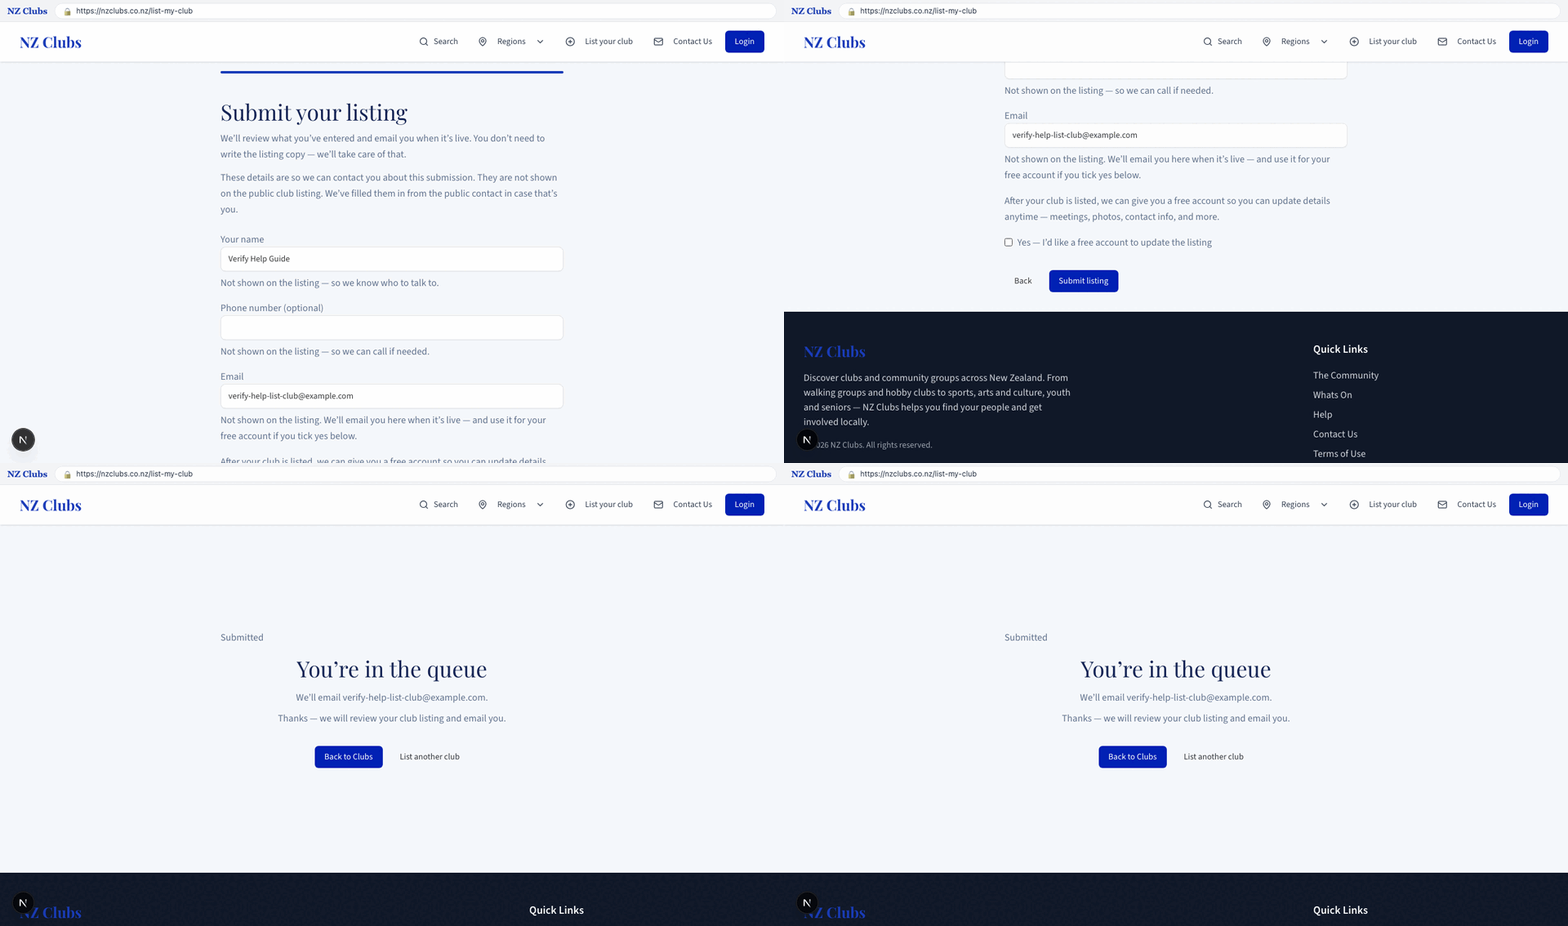
Submit and confirmation walkthrough

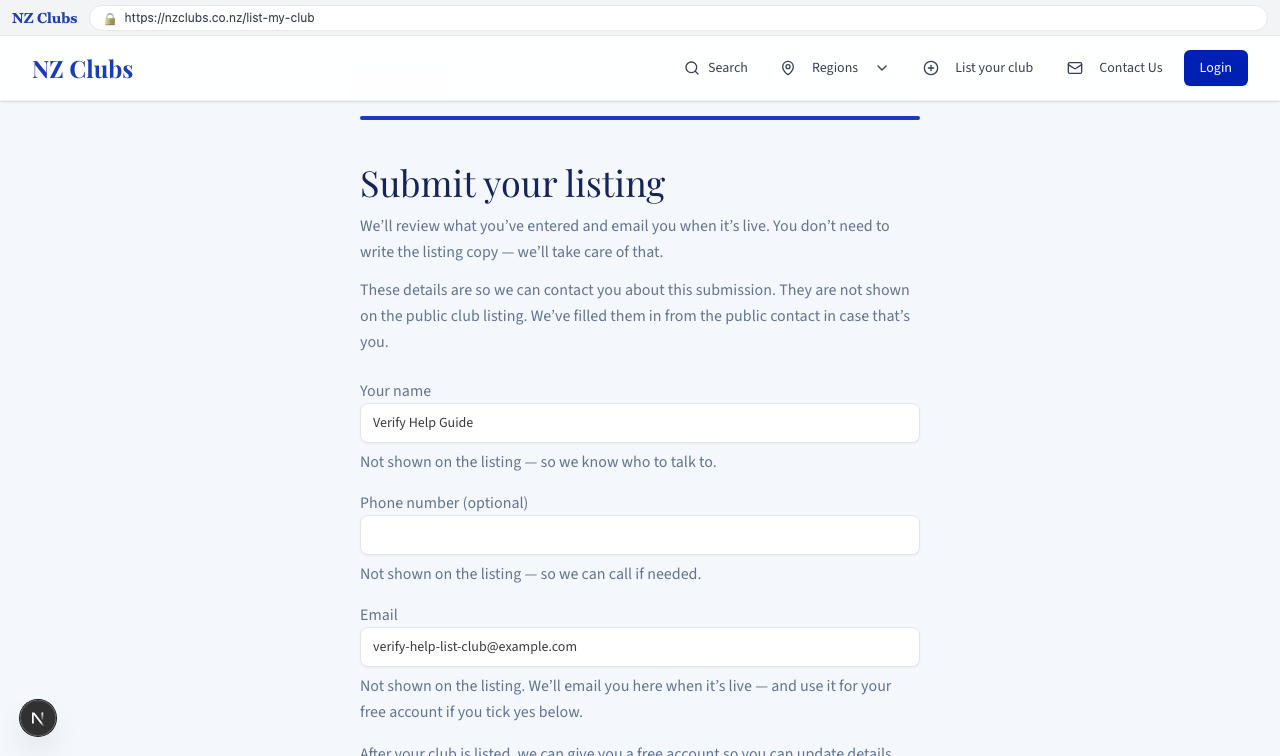
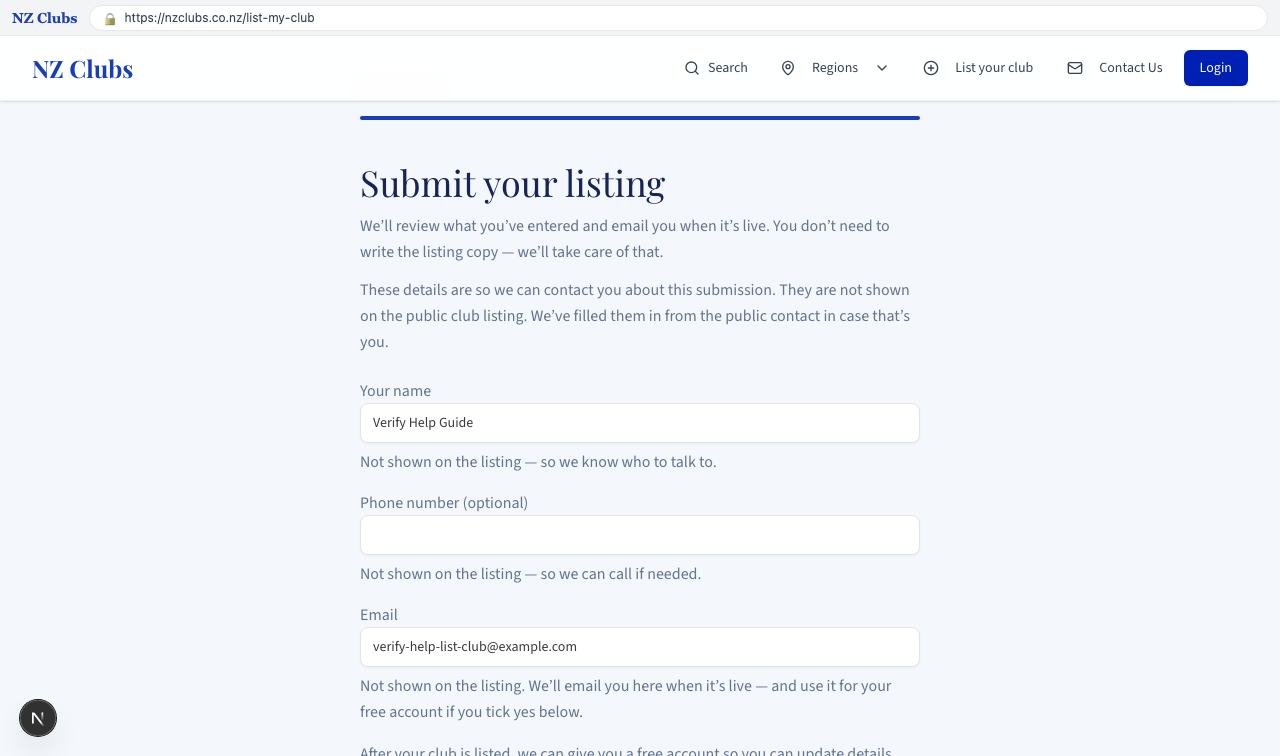
1. Submit your listing

Submit your listing
Submit your listing

2. Untick free account if you do not want one
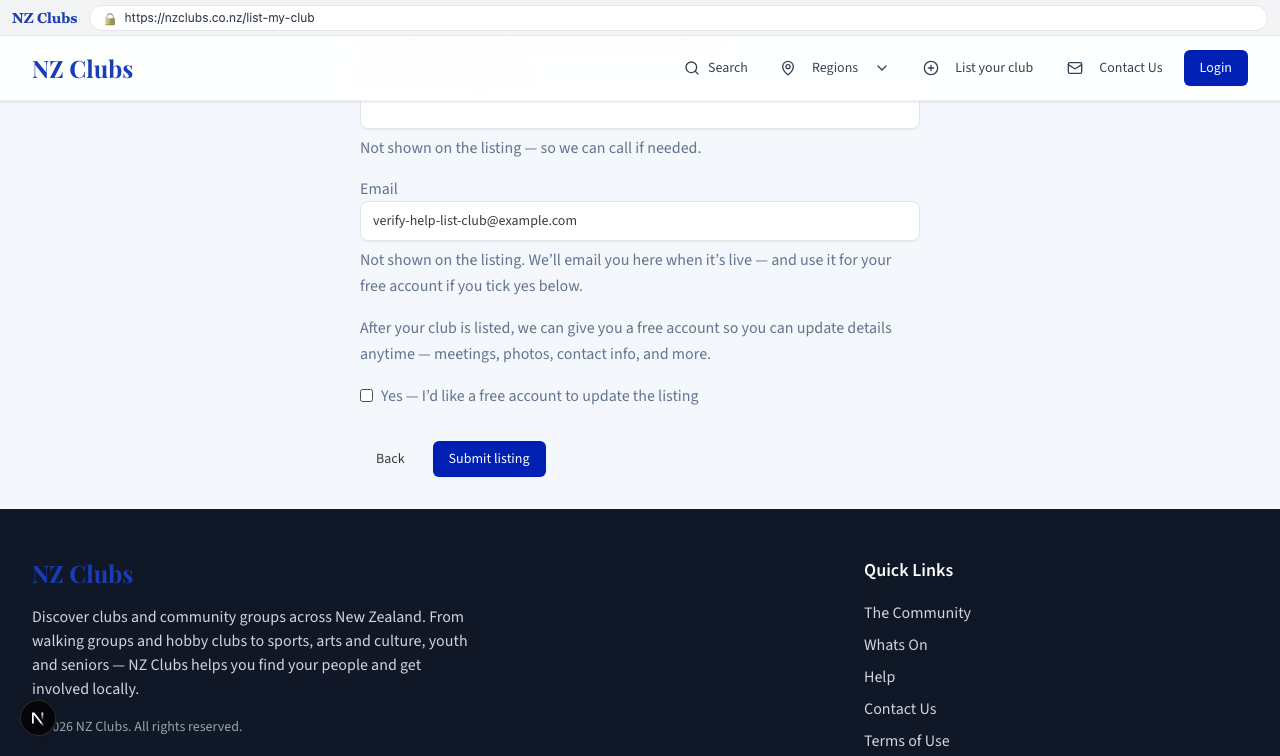
Untick free account if you do not want one

3. Click Submit listing
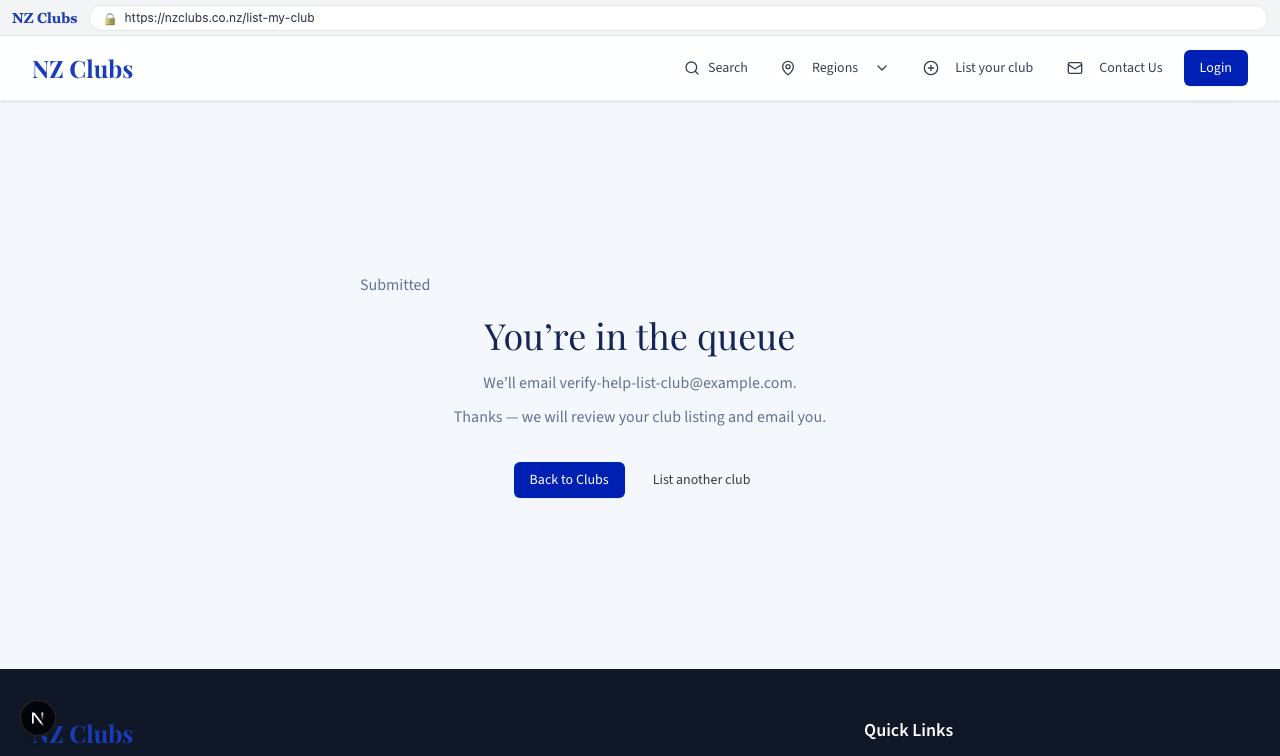
Click Submit listing

4. Confirmation — You're in the queue
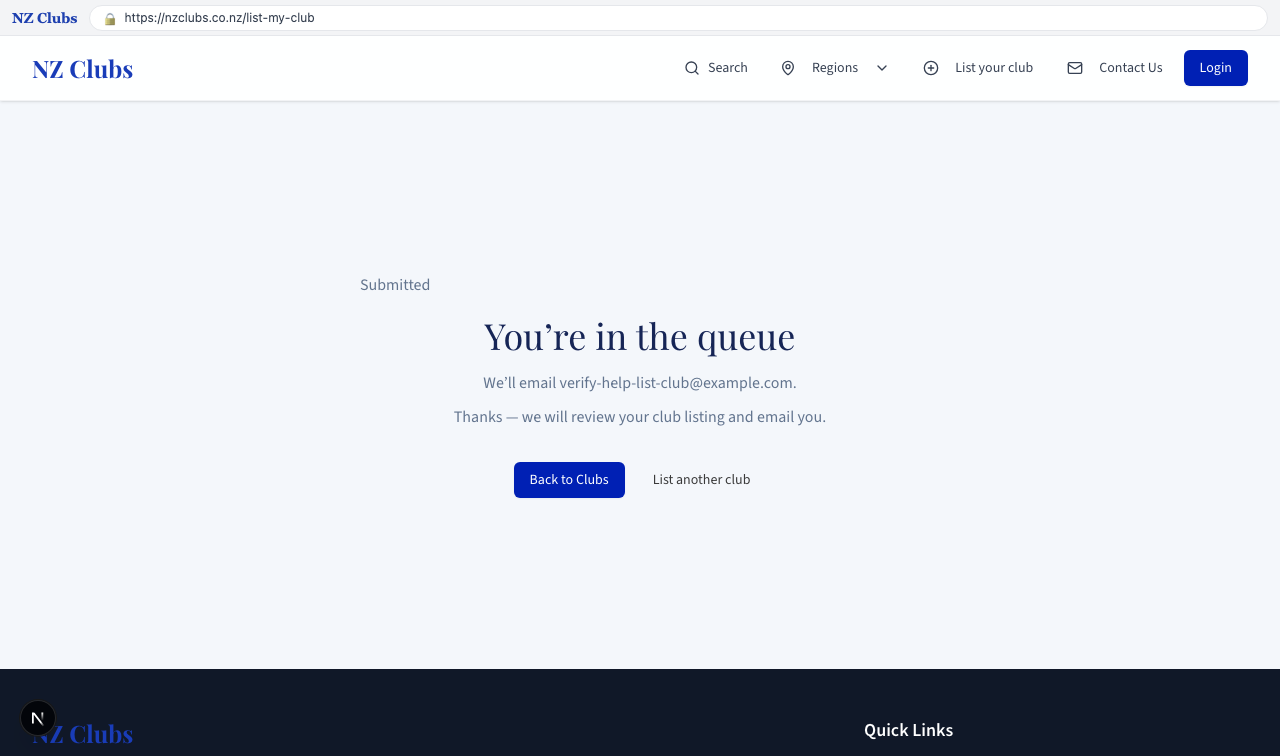
Confirmation — You're in the queue

Tips

- Use the real club name and a New Zealand meeting address so duplicate checks and region pages work.

- On the last step, Submit listing sends the request for review. You should see You’re in the queue.

- Leave the free-account tick on if you want to manage the listing later; untick it if you only want the public page.

More guides in the getting-started section of Help.

← All help guides